
TenGun™ FAQ
This page covers some of the frequently asked questions about TenGun. These topics are also discussed in the User Guide.
Click the appropriate question below to expand the explanation.
-
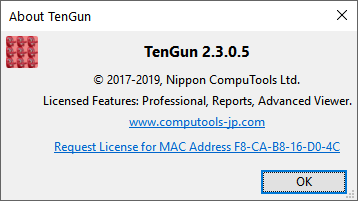 Start TenGun, and go to Help ➔ About.
 - Click "Request License for MAC Address xx-xx-xx-xx-xx-xx". This will send a license request to us by email.
- Select OK to close the dialog.
- We will reply to your mail shortly, sending you a file named "TenGun.lic" as an attachment.
- Save the TenGun.lic attachment in "C:\ProgramData\TenGun". Alternatively, (1) drag the attachment to your Desktop, (2) start TenGun, (3) Drag & Drop the Desktop copy of the license file into TenGun, and (4) delete the Desktop copy of the license file.
You can also find the MAC Address from a command line prompt by typing "ipconfig /all". There may be multiple address — just pick the first one. You may also manually send us a mail instead of going through the About dialog — you are not required to do this through the About dialog.
First, define a custom color table:
- From the TenGun menu, go to Edit ➔ Settings, or click
 on the toolbar.
 - Select the "Discrete Colors" tab.
- Add a new table. You can name it anything you want, such as "MatColors".
- Create some color entries. The easiest way is to use one of the "Preset" color schemes.
Next, set up a field definition:
- Switch to the Fields tab in the settings.
- TenGun predefines a field named "Material", but if your field name is different (e.g., Mat, MatType, Type, etc.) you can add a new field name to match your particular input data.
- Near the middle the Fields tab, set the data type (usually "int"), and check the "Discrete" option. Other options are of minor importance at this point.
- For the "Color Table" option, select the name of the table that you defined above (e.g., "MatColors").
- Add a Value and Label for each material. For example, 1 Cast Iron, 2 Push Plate, and 3 Aluminum Powder.
- Select OK to save and to activate the settings.